The Ultimate Dr. Fixit Waterproofing Guide: Protect Your Home from Leaks & Dampness
Why Waterproofing is the Best Investment for Your Home
Before you apply that beautiful wall colour combination for living room, you must ensure your walls are bone-dry. Dampness and seepage can ruin expensive paint and cause structural damage. When it comes to chemical construction, Dr. Fixit waterproofing is the industry leader, offering specialized solutions for every part of your house.
In this guide, we break down the most popular products, including Dr. Fixit 301, Dr. Fixit LW+, and Dr. Fixit Roofseal, to help you choose the right shield for your home.
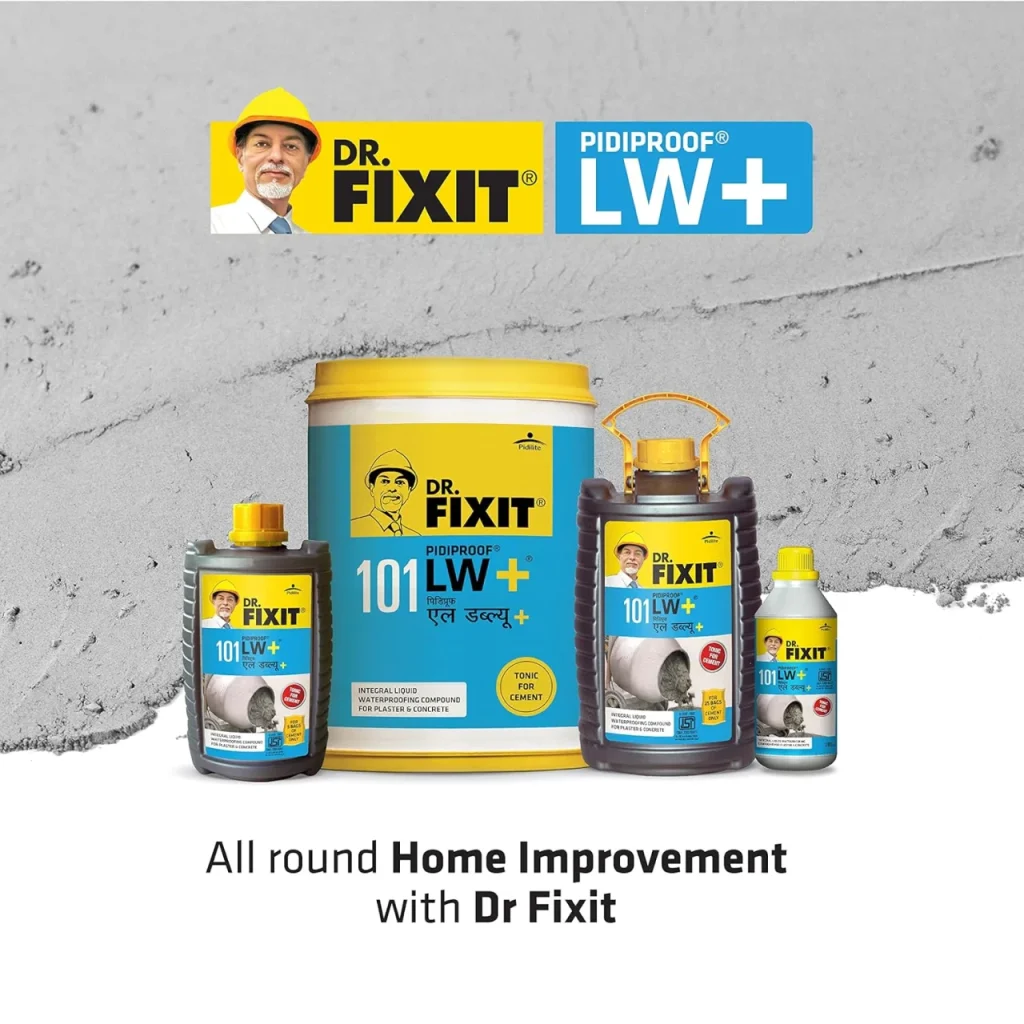
1. Dr. Fixit LW+ (Liquid Waterproofing Compound)
Dr. Fixit LW+ is the most commonly used product in the construction phase. It is an additive mixed directly into the cement.

- Primary Use: Concrete, mortar, and plastering.
- Key Benefits:
- Increases the “workability” of the mortar.
- Prevents segregation and bleeding in concrete.
- Pro-Tip: Always use LW+ during the initial plastering of your living room walls to prevent future dampness.
- Dosage: Generally 200ml per 50kg bag of cement.
2. Dr. Fixit URP 301 (SBR Latex)
If you are repairing an old home, Dr. Fixit 301 (often referred to as Dr. Fixit URP) is your best friend. It is a Styrene Butadiene Rubber (SBR) latex that acts as a powerful bonding agent.
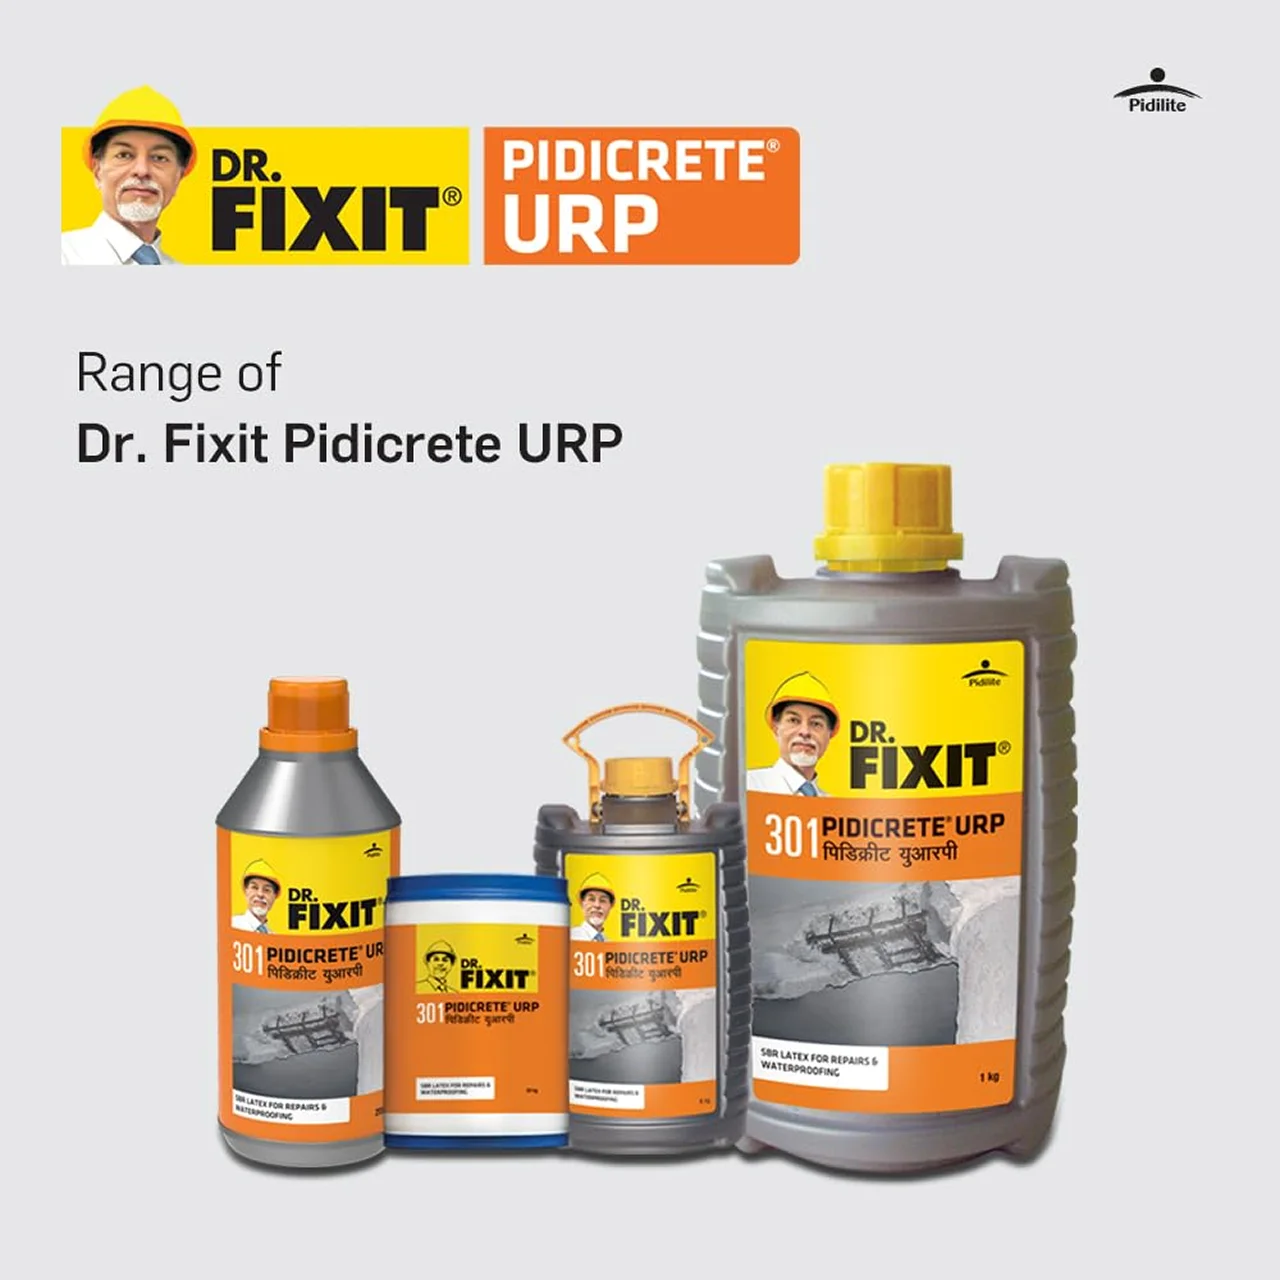
- Primary Use: Repairing spalled concrete, floor repairs, and waterproofing of toilets/bathrooms.
- Key Benefits:
- Excellent bond strength to old and new concrete.
- Reduces water permeability.
- Resistant to salt penetration.
- Application: Mix it with cement to create a “slurry” for a waterproof coating.
3. Dr. Fixit Roofseal: The Shield for Your Terrace
The roof takes the most heat and rain. Dr. Fixit Roofseal is an elastomeric coating specifically designed for terrace waterproofing.
- Primary Use: External roofs and terraces.
- Key Features:
- Heat Reflective: Can reduce surface temperature by up to 10°C.
- Crack Bridging: It can stretch to cover hairline cracks that develop due to heat expansion.
- Why choose it: It provides a seamless, joint-free membrane that water cannot penetrate.
4. Dr. Fixit PidiFin 2K
For areas that are constantly under water (like swimming pools or water tanks), you need Dr. Fixit PidiFin 2K.
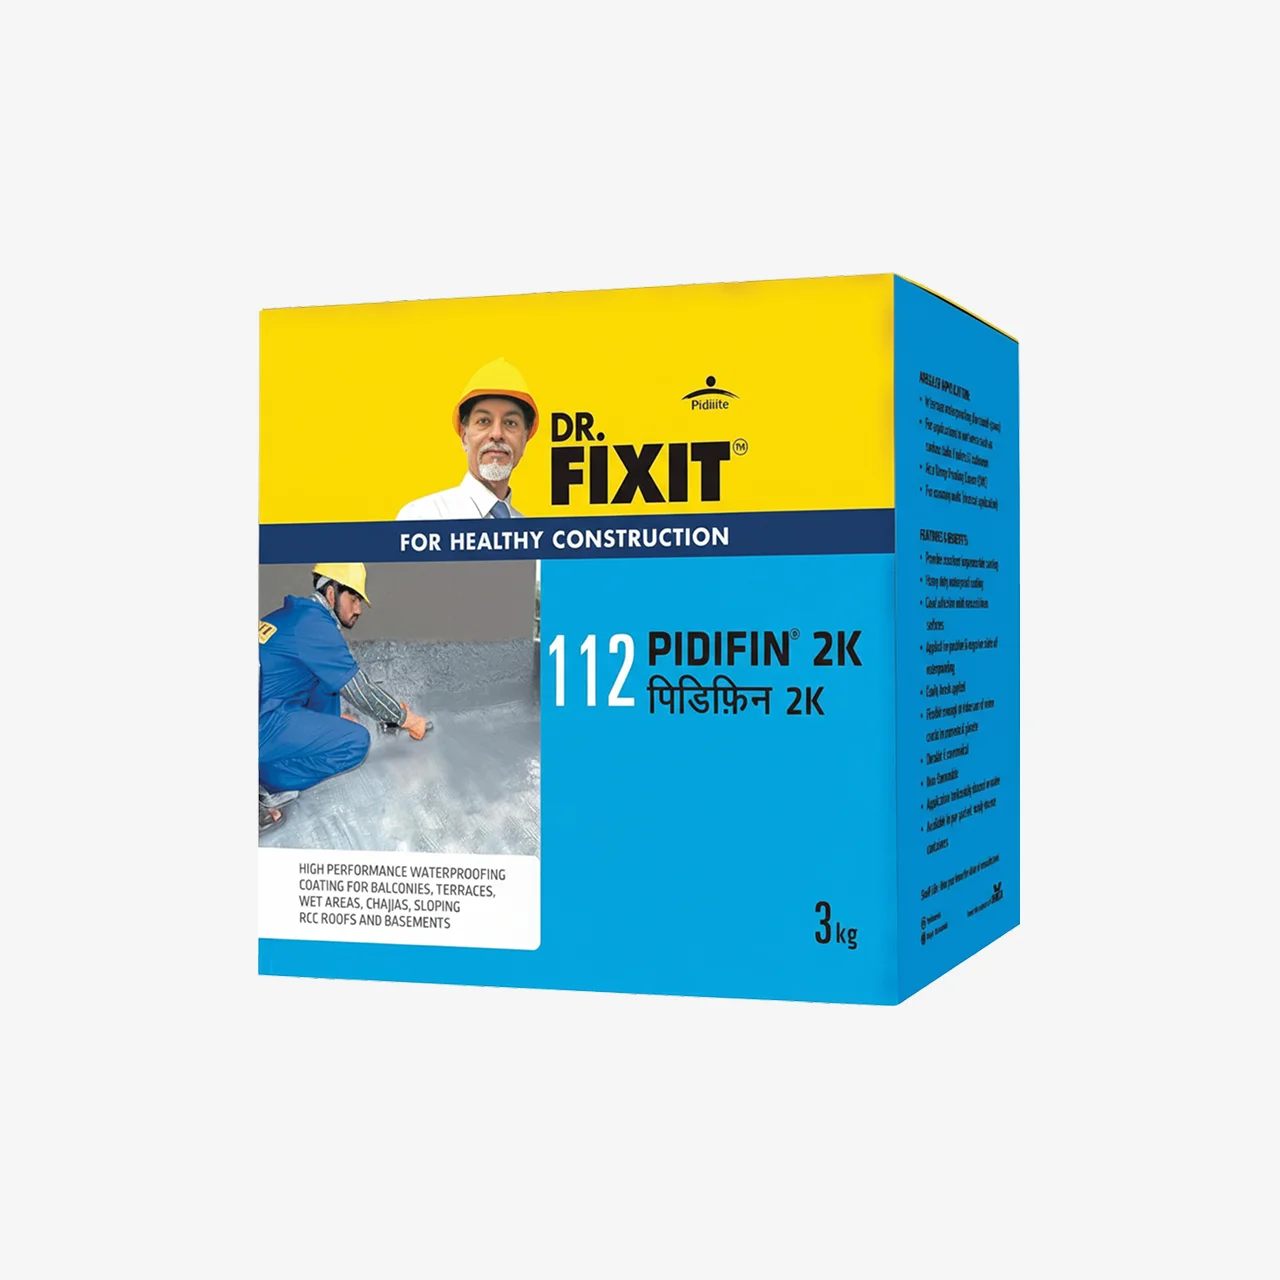
- Primary Use: Water tanks, basements, and sunken portions of bathrooms.
- Key Benefits:
- Two-component system (liquid + powder).
- Excellent hydrostatic water pressure resistance.
- Non-toxic (safe for drinking water tanks).
5. Dr. Fixit Raincoat: The External Wall Guard
Once you’ve settled on a wall colour combination for living room exteriors, you need to protect it. Dr. Fixit Raincoat is a high-build bridge-paint.
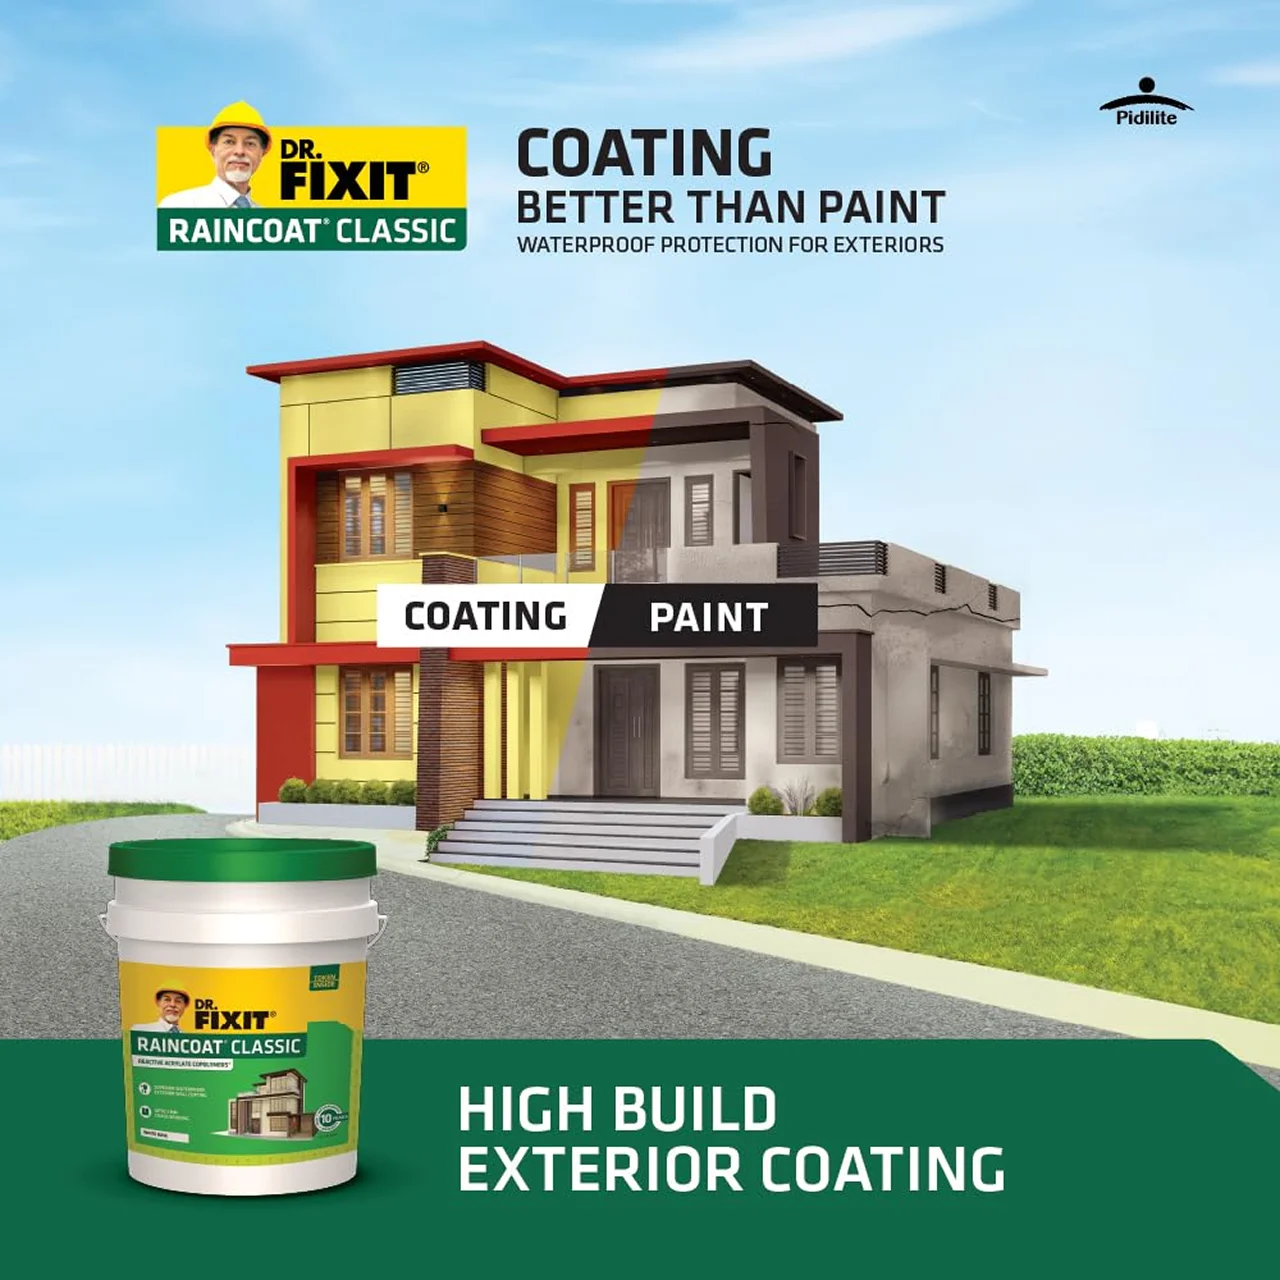
- Primary Use: External vertical walls.
- Key Benefits:
- Provides a thick film (double the thickness of normal paint).
- Available in 700+ shades, so you don’t sacrifice beauty for protection.
- UV resistant, preventing the color from fading.
6. Dr. Fixit Sureseal
For quick fixes and general household DIY waterproofing, Dr. Fixit Sureseal is the versatile “no-nonsense” product.
- Primary Use: Sealing gaps in windows, small cracks in walls, and plumbing joints.
- Key Benefits: Easy to apply and extremely durable against weather changes.
Understanding Dr. Fixit Price Points (2026 Estimates)
While the Dr. Fixit price varies by region and quantity (500ml vs. 20L), here is a general estimate for budgeting:
Product Name | Estimated Price Range (INR) | Typical Quantity |
Dr. Fixit LW+ | ₹150 – ₹180 | 1 Litre |
Dr. Fixit URP 301 | ₹450 – ₹550 | 1 kg |
Dr. Fixit Roofseal | ₹4,500 – ₹5,500 | 20 Litre |
Dr. Fixit PidiFin 2K | ₹2,200 – ₹2,800 | 15 kg (Kit) |
Dr. Fixit Raincoat | ₹600 – ₹800 | 1 Litre |
Note: Prices fluctuate based on market demand and dealer discounts. Always ask for a bulk discount if you are doing the whole house!
How to Apply Dr. Fixit Products: A Step-by-Step Guide
To ensure your dr fixit waterproofing lasts for 10+ years, follow these expert steps:
Step 1: Surface Preparation
The most common reason for waterproofing failure is a dirty surface. Use a wire brush to remove all loose dust, oil, and fungus. If there are large cracks, fill them with Dr. Fixit Crack-X first.
Step 2: Priming
For products like Roofseal or Raincoat, always apply a primer coat. This ensures the main chemical bonds deeply with the concrete pores.
Step 3: Application of Coats
- For Dr. Fixit URP 301 or PidiFin 2K, apply at least two coats.
- The second coat should always be applied perpendicular (90 degrees) to the first coat. This ensures there are no microscopic “pinholes” left behind.
Step 4: Curing
Allow the product to dry completely. For terrace solutions, do not walk on the surface for at least 24 to 48 hours.
Comparing the “Big Three”: LW+ vs. URP vs. Roofseal
Feature | LW+ | URP (301) | Roofseal |
Mixing | Mix with Cement | Mix with Cement/Water | Ready to Use |
Main Goal | New Construction | Repair & Bonding | Roof Protection |
Flexibility | Low | Medium | High |
Thickness | Part of Plaster | Thin Slurry | Thick Membrane |
Common Waterproofing Myths Debunked
“Waterproofing is only for old houses.”
- False: Using Dr. Fixit LW+ in new construction is much cheaper than fixing a leak 5 years later.
“Normal paint is enough for external walls.”
- False: Normal paint is decorative. Dr. Fixit Raincoat is protective. Paint cracks; Raincoat stretches.
“I can apply waterproofing during the rain.”
- False: The surface must be bone-dry for the chemical to bond. Never apply Dr. Fixit products during active rainfall.
Conclusion: A Dry Home is a Happy Home
From the foundation with Dr. Fixit 301 to the terrace with Dr. Fixit Roofseal, every layer of your home needs protection. By choosing the right Dr. Fixit waterproofing solution, you ensure that your interior wall colour combination for living room stays beautiful and free from white patches (efflorescence) for decades.
Invest in quality products like PidiFin 2K and Raincoat today, and save thousands in repair costs tomorrow.