How to Paint a Room: A Step-by-Step Beginner’s Guide
A fresh coat of paint is the fastest, easiest, and most affordable way to completely transform a room. Whether you’re moving in, sprucing up, or just ready for a change, painting a room yourself is a hugely satisfying project.
But if you’re a beginner, it can feel intimidating. Where do you even start? What tools do you really need?
Don’t worry. This guide will walk you through the entire process, step-by-step, just like a professional. Follow these steps, and you’ll have a flawless finish you can be proud of.
Step 1: Plan & Choose Your Paint
- Choose Your Colour: This is the fun part! Consider the room’s lighting, size, and mood. Grab a few paint tester pots (replace with your specific tester link if available) and paint small swatches on your wall to see how they look at different times of the day.
- Choose Your Sheen: The “sheen” is how shiny the paint is. Here’s a quick cheat sheet:
- Matte (Flat): No shine. Great for hiding imperfections on low-traffic walls (like bedrooms or ceilings).
- Satin/Eggshell: A low, soft shine. It’s durable, easy to clean, and perfect for living rooms and kids’ rooms. This is the most popular choice.
- Semi-Gloss/Gloss: Shiny and highly durable. Best for high-moisture or high-traffic areas like bathroom walls, kitchen cabinets, and trim (doors, baseboards).
- Calculate How Much Paint You Need: As a general rule, 1 litre of paint covers about 80-100 square feet with one coat. To calculate, measure the (Width x Height) of each wall, add them together, and then divide by 80. Remember to double it for two coats. It’s always better to have a little extra!
Step 2: Gather Your Tools & Materials
Nothing is worse than starting a project only to realize you’re missing something. Get everything ready in one place.
Here’s your shopping list (all available in our Paint Tools section):
- For Prep:
- Wall Putty / Filler (for cracks and holes)
- A putty knife
- Sandpaper (medium-grit)
- Painter’s tape
- Old sheets or plastic drop cloths
- Rags and a mild cleaning solution
- For Painting:
- Interior Wall Primer (Essential for new drywall, dark colours, or stains)
- Your chosen Interior Emulsion Paint
- A 9-inch Paint Roller and roller cover
- A paint tray
- A 2-inch Angled Paint Brush (for edges)
- A roller extension pole (to save your back!)
- A paint stirrer
Step 3: Prepare the Room (Don’t Skip This!)
- Move & Cover: Move all furniture to the center of the room or, ideally, out of the room completely. Cover everything (furniture and floors) with drop cloths.
- Tape Everything: Apply painter’s tape carefully to the edges of your baseboards, window frames, door trim, and ceiling line (if you aren’t painting it). Press the tape’s edge down firmly to prevent paint from bleeding underneath.
- Cover Outlets: Cover light switches and electrical outlet covers with tape, or just unscrew and remove them.
Step 4: Prepare the Walls
- Clean: Wipe down the walls with a rag and a mild detergent solution to remove dust, cobwebs, and any grime. Let it dry completely.
- Fill & Sand: Inspect your walls for any cracks, dings, or nail holes. Use a putty knife to apply wall putty. Overfill the hole slightly. Once it’s dry, use medium-grit sandpaper to sand it smooth and flush with the wall.
- Wipe: Wipe away all the sanding dust with a clean, damp rag.
Step 5: Apply the Primer
Primer solves problems. It ensures your paint sticks, covers up stains, and gives you a uniform base so your final colour looks rich and even. Always prime if:
- The wall is new drywall.
- You are painting over a dark or bright colour (like red).
- You are painting over a glossy, shiny paint.
- The wall has stains (water, smoke, etc.).
Apply one even coat of primer just as you would paint (see next step). Let it dry completely.
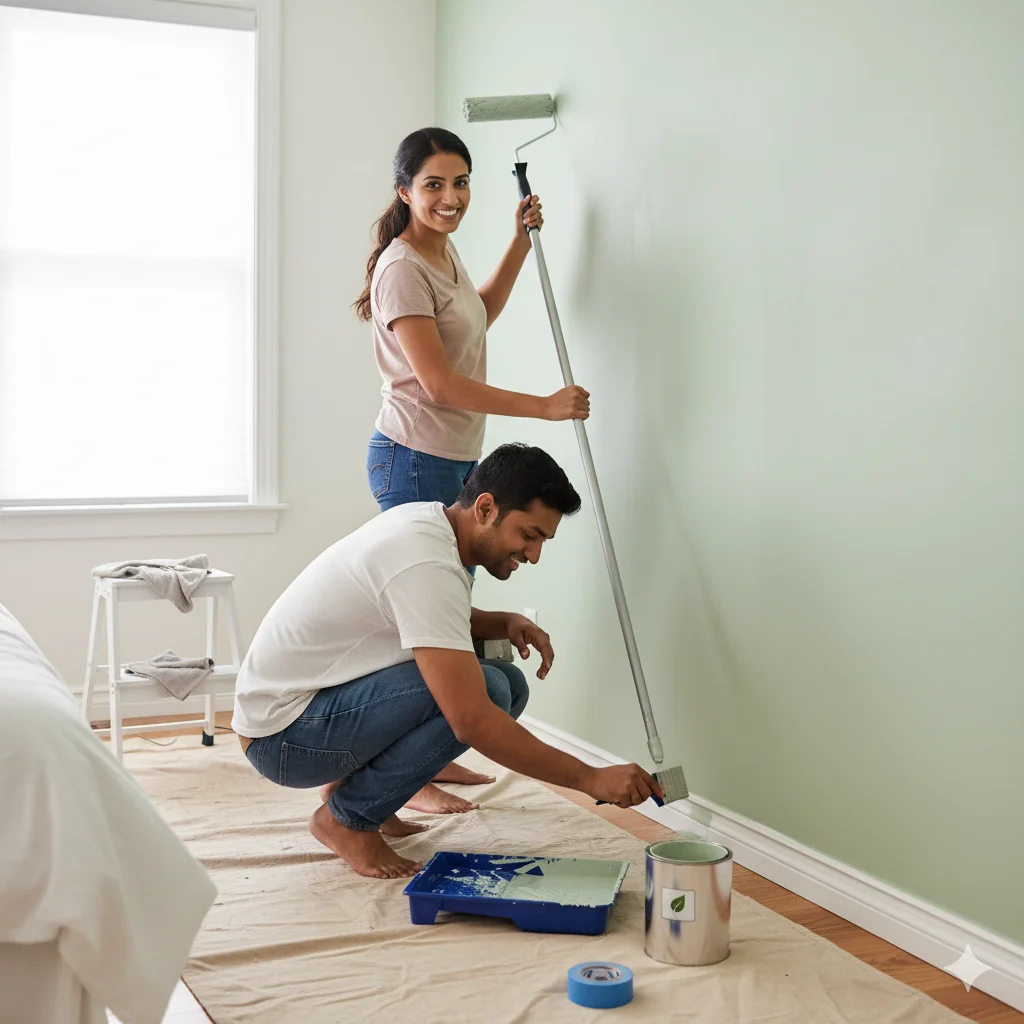
Step 6: Let’s Paint! (The Fun Part)
First: “Cutting In”
“Cutting in” means using your brush to paint all the areas the roller can’t reach.
- Pour some paint into a smaller container.
- Dip your 2-inch angled brush about one-third of the way into the paint.
- Carefully paint a 2-3 inch wide strip along the painter’s tape:
- Around all trim (doors, windows)
- Along the ceiling line
- In the corners
- Around outlets
Second: Roll the Walls
- Pour your paint into the deep end of the paint tray.
- Roll your roller into the paint, then roll it back and forth on the tray’s ribbed ramp to remove excess. You want the roller to be evenly coated, but not dripping.
- Start painting! Begin near a corner and roll the paint onto the wall in a large “W” or “M” shape, about 3 feet wide.
- Without lifting the roller, go back and fill in the “W” shape with straight, parallel strokes. This ensures even coverage and avoids ugly roller marks.
- Repeat this process, moving across the wall and always working from a wet edge into a dry one.
- Let the first coat dry completely (check the can for drying times, usually 2-4 hours).
Step 7: Apply the Second Coat
Repeat Step 6 (cutting in and rolling) one more time. The second coat will go on faster and use less paint than the first.
Step 8: The Clean-Up
- Remove Tape: Once the paint is tacky (not fully wet, not fully dry), slowly pull the painter’s tape off at a 45-degree angle. This gives you the sharpest, cleanest line.
- Clean Tools: For water-based (emulsion) paints, you can clean your brushes and rollers with warm, soapy water.
- Reveal: Move your furniture back, step back, and admire your brand-new room!
Ready to Start Your Project?
Painting a room is one of the most rewarding DIY projects you can do. Now that you have the knowledge, all you need are the tools.
Shop our full collection of Interior Paints and Painting Supplies to get everything you need delivered right to your door.